Posts

Showing posts with the label Crochet

The Ultimate Gingerbread House Crochet Pattern: A Sweet Holiday Project! ๐Ÿ 

Image
Hey crochet enthusiasts! Ready to whip up the most adorable holiday decoration ever? Let's dive into this charming gingerbread house pattern that's perfect for both beginners and experienced hookers. Trust me, this little architectural masterpiece will have everyone asking, "Wait, that's crochet?!" Materials You'll Need ๐Ÿงถ Cotton yarn in your chosen colors (house color, trim, decorations) 2mm crochet hook (Pro tip: going smaller than recommended creates tighter, neater stitches!) Stuffing/poly-fill Tapestry needle Scissors Your favorite holiday playlist (optional but recommended! ๐ŸŽ„) Skill Level Beginner-friendly! If you can chain and single crochet, you're golden! Special Notes About Gauge Here's a clever trick: Using a 2mm hook instead of the recommended 3.5mm creates a tighter, more polished finish with no peek-a-boo holes. Remember, we're building a house here, not a mesh bag! The Pattern Breakdown House Walls (Make

Easy DIY Crochet Christmas Ornaments: Wreath and Candy Cane

Image
Crocheting your own Christmas decorations adds a handmade touch to your holiday decor, and these simple wreath and candy cane ornaments are perfect for beginners. Here's a detailed written pattern based on the video tutorial. Materials Needed: - Yarn of your choice (festive colors like red, green, or white) - Crochet hook (use a size that suits your yarn) - Scissors - Tapestry needle (for weaving in ends) Crochet Pattern for the Wreath & Candy Cane: 1. Begin with a Slip Kno t: Start by making a slip knot and place it on your crochet hook. 2. Chain 40 : For a wreath of approximately 5 cm diameter or a candy cane of 7 cm length, chain 40. Adjust the number of chains for larger or smaller ornaments. 3. Single Crochet (SC) in the Second Chain from Hook :    - Skip the first chain.    - Insert your hook into the second chain, yarn over, and pull through (you now have two loops on the hook). Yarn over again and pull through both loops.  4. Three Single Crochets in Each Chain :    - I

Crochet Your Own Fruity Hot Pads: A Fun Summer DIY Project

Image
Are you looking for a cute and practical crochet project to brighten up your kitchen this summer? Look no further! Today, we'll walk you through creating adorable fruit-inspired hot pads. These versatile crochet pieces can be customized to resemble various fruits like watermelon, lemon, lime, or orange. Let's dive into this easy and fun pattern! Materials Needed: - Cotton yarn in colors of your choice (main fruit color, white for rind, black for seeds if making watermelon) - Crochet hook size H (or size appropriate for your yarn) - Tapestry needle - Scissors Abbreviations: - ch = chain - dc = double crochet - st(s) = stitch(es) - sl st = slip stitch Pattern: Note: This pattern creates one circular side of the hot pad. You'll need to make two identical pieces and join them together. Round 1: Start with a magic ring. Ch 3 (doesn't count as first dc), make 12 dc into the ring. Sl st to the top of the beginning 1dc to join. (12 dc) Round 2: Ch 3 (doesn't count as a stit

How to Crochet a SOLID GRANNY SQUARE: Easy Beginner-Friendly Pattern

Image
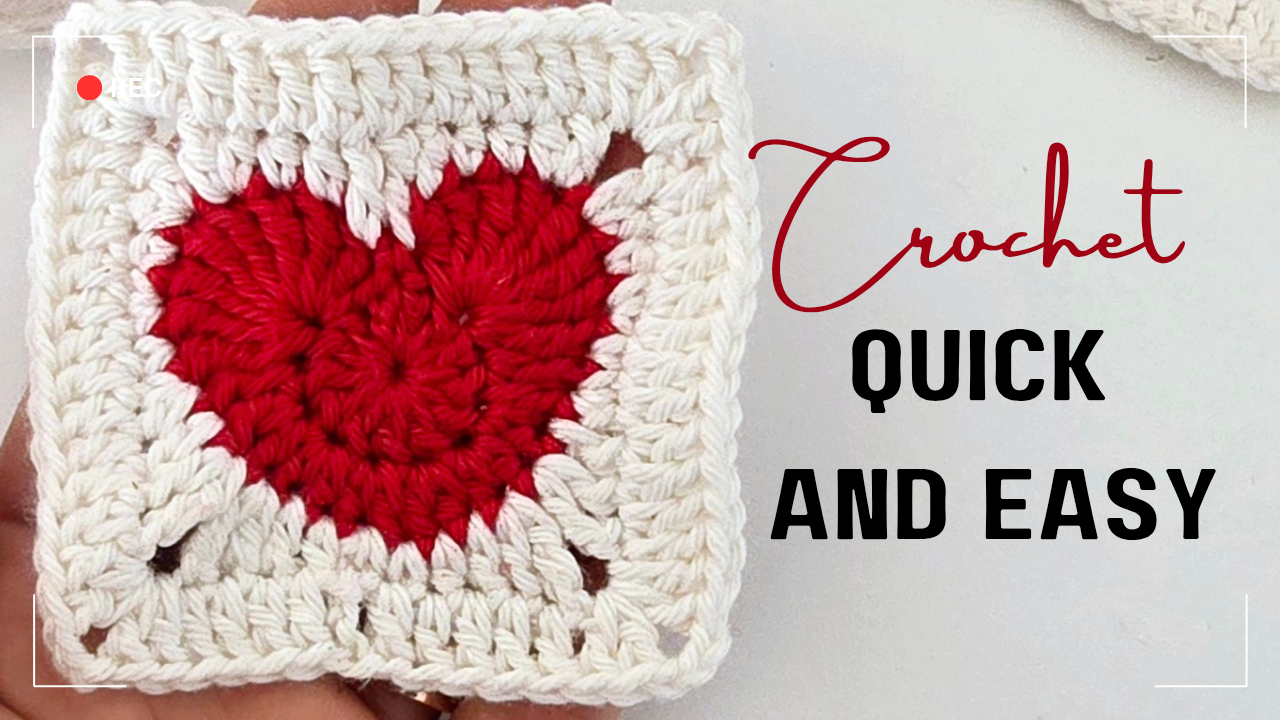
This pattern creates a seamless and flat square with a unique geometric design. It is perfect for beginners as it uses only single crochet stitches and an increase of three to form the square shape. You can use any type of yarn and a matching hook to create squares of your desired size.  Materials: - Yarn of your choice (the video uses cotton yarn) - Crochet hook that matches your yarn size Abbreviations: - sc - single crochet - st - stitch - ch - chain - sl st - slip stitch - mc - magic circle/ring - rep - repeat Special Stitch: - Increase of three: work 3 single crochet stitches into the same stitch Instructions: **Step 1:** Start with a magic circle. Ch 1, work 8 sc into the magic circle. Pull the tail to close the circle tightly. **Step 2:** Row 2: Work an increase of three into the first st, sc in the next st. *Increase of three in the next st, sc in the following st.* Rep from * to * around. You should have four sets of increases, forming the four corners of the square. Do not jo

3D Effect Crochet Hotpad for Beginners

Image
The hotpad is just one row pattern but thanks  to 3d effect and color combination possibilities, you can create various designs. We will start with a ring hanger. You can crochet all around it and have different number of stitches then you must devide that number into two. Use just one half of stitches for creating the square. I have in total 20 stitches so I will work only in 10 stitches. My first row will be 4 single crochet, inc×2, 4 single crochet ( 10 stitches). My second row will be 5 single crochet, inc×2, 5 single crochet and etc. Just keep making two increases in the center. You can make any size. Watch the video to see how to give it a finished look. Thank you! HERE THE VIDEO TUTORIAL:

How to crochet Christmas Candy for Beginners

Image
These candy canes are just one row pattern. They are so quick and cute that you can make a pile of them. They are perfect projects if you want to use up your leftover yarn. I love Christmas patterns that require little yarn and little time. You can use any yarn absolutely and a matching hook size. I am using 100 % cotton and 3 mm hook. You can crochet two of them and slip stitch together to make them thicker and use as ornament or crochet just one half and harden it in sugar and water mixture.  Or simply use as an applique for your Christmas sweater or other decorations.  It is possible to use three colors such as red, white and green. You can also make them of bigger size if you use chunky yarn or add more chains. Here the video tutorial: Here for left handed crochetter:

How to make Chrochet Christmas Peppermint Candies for Absolute Beginners

Image
This is the easiest pattern for Christmas Decoration ornaments. All you need is two color yarn and a crochet hook. You can make this one row peppermint candies really quick. You can use absolutely any type of yarn and a matching hook. All you need to do us a magic ring and 12 double crochet into it.  I think they can be nice Christmas earings as well. ๐Ÿ˜Š  This is a perfect last minute Christmas project.  Watch a video tutorial for super detailed guide where  I show all the steps. HERE THE VIDEO TUTORIAL:

Boho Style Chrochet Christmas Tree for Beginners

Image
These trees are easy and quick to make. I don't think you can make even simpler trees than this cute Boho style tree. Materials   Any type of yarn Hook Beads  Needle for sewing You can use whatever yarn you have and a matching hook. This tree can be made of any size. The more you chain, the bigger your tree will be, or you can simply use chunky yarn. You can make extra decorations. As you may see on the picture, the shape of the tree is absolutely your choice.  For this tutorial I used big chunky cotton, hook 8 mm. I chained 60 and made 59 sc. Then I just folded the stripe to make a tree and sew it as shown in the video.  I decorated my trees with wooden beads and tassels.  HERE THE VIDEO TUTORIAL: FOR HAND LEFT HANDED CROCHETTER:

Crochet Christmas Baubles for Beginners Free Pattern

Image
Christmas is in the air!! This is one of the easiest pattern of chrochet christmas baubles.  All you need is some yarn and the hook. You may use any type of yarn and matching hook size. In this tutorial I am using: 100% cotton, 75 gr, 150 m,  2.5 mm hook Please follow video tutorial. I am changing the yarn on increase side. The increase is done by crocheting in the side stitch ( watch video) and decrease by skipping first stitch. Abbreviation sc - single crochet Inc - increase Dec - decrease Ch - chain Written Pattern  Row 1) ch 23, 22 sc ( 22) Row 2) change yarn color,  (ch 1, sc into same stitch of chain 1) = inc, 21 sc  (22 ) Row 3)( ch 1 skip first stitch = dec), 21 sc including sc into side stitch ( 22) Repeat rows 2 and 3 until you have 42 rows or you must have length = 2×width You have to crochet into back loops. Watch video tutorial for clear instructions  HERE THE VIDEO TUTORIAL: FOR LEFT HANDED:

Crochet Turtle for Absolute Beginners

Image
Crochet Turtle is a perfect project for absolute beginners.  Top of the Shell: R1: 6SC stitches into a Magic Ring R2: SC Increase around =12 stitches R3: (Increase, 1SC) x 6 = 18 stitches R4: 1SC, (increase, 2SC) x 5, Increase, SC = 24 stitches R5: (Increase, 3SC) x 6 = 30 stitches R6: 3SC, (increase, 4SC) x 5, increase, 1SC = 36 stitches R7, R8: 36 stitches all around. For bottom part of the shell crochet from R1 to R6 and leave a long tail for sewing. Flippers: R1: 6SC stitches into a Magic Ring R2: SC Increase around =12 stitches R3: (Increase, 1SC) x 6 = 18 stitches R4: 1SC, (increase, 2SC) x 5, Increase, SC = 24 stitches Follow video instructions to fold the flipper into 2 and crochet it into half a circle. Head: R1: 6SC stitches into a Magic Ring R2: SC Increase around =12 stitches R3: (Increase, 1SC) x 6 = 18 stitches R4: 1SC, (increase, 2SC) x 5, Increase, SC = 24 stitches R5: 24 stitches R6: 1SC, (Decrease, 2SC) x 5, Decrease, SC = 18 stitch

How to crochet Worry Worms in 5 minutes for absolute beginners

Image
Written Pattern Start by making slip knot and chain as long as you wish. I recommend 25 and more chains. Row1: chain 2 and make 4 single crochet into each chain. Into the last chain make 10 double chrochet, slip knot, chain1 and cut the yarn. Attach the eyes. ๐Ÿ› In this beginner-friendly crochet tutorial, you'll learn how to create an irresistibly cute worm in just five minutes! Grab your crochet hook, yarn, and a pair of eyes to get started on this fun project. ๐Ÿงถ This step-by-step tutorial covers all the basics you need to know, including single crochet, double crochet, chaining, and slip stitching. Even if you're new to crochet, you'll be able to follow along and create your own worm in no time. ➰ Customize your worm with different colors to make it even more vibrant and eye-catching. Whether you want to use it as a toy or a cute keychain, the possibilities are endless. ๐Ÿ‘€ Don't forget to add a pair of eyes to give your

Crochet African Flower Granny Square Pattern

Image
Crochet african flower is a very beautiful yet simple pattern that can be turn easily into amazing granny square.   Abbreviation: Sc - single crochet  Hdc- half double crochet  Dc - double crochet  Tr - Treble Written Pattern: Row 1: 8sc Row 2: 8dc clusters Row 3: ( dc cluster, ch2, dc cluster) *8 Row 4: ( 7dc) *8 Row 5: ( 7 sc, 1 long sc) *8 Row 6: ( hdc, 4dc, tr cluster, ch2, tr cluster) *4 Row 7: ( 12 hdc, 3 hdc, ch 2, 3 hdc) *4 HERTHE VIDEO TUTORIAL:

Learn to Crochet Popcorn Stitch: Add Texture and Volume to Your Projects

Image
If you're looking to add texture and volume to your crochet projects, popcorn stitch is a great technique to learn. This stitch is created by working multiple double crochets into the same stitch and then pulling through all the loops to create a "popcorn" effect. In this tutorial, we'll show you two different ways to make popcorn stitch and how to use it to add interest to your crochet projects. What is Popcorn Stitch? Popcorn stitch is a decorative stitch that can be used to add texture and volume to your crochet projects. It's made by working multiple double crochets into the same stitch and then pulling through all the loops to create a raised "popcorn" effect. Popcorn stitch is often used in blankets, scarves, and hats, but it can be used in any project where you want to add a bit of texture and interest. Materials Needed To crochet popcorn stitch, you'll need the following materials: Worsted weight yarn in the color of your choice Crochet hook

How to Crochet a Net Bag with Solomon's Knots: A Perfect Project for Beginners

Image
If you're new to crochet and looking for a fun and easy project to try, a net bag with Solomon's knots might be just the thing. Not only is it a great way to practice your crochet skills, but it's also a sustainable alternative to plastic bags. In this tutorial, we'll show you step-by-step how to crochet a net bag with Solomon's knots. What are Solomon's Knots? Before we get started, let's talk a bit about Solomon's knots. Also known as the lover's knot, Solomon's knot is a crochet stitch that creates a lacy, openwork pattern. It's made by creating a series of loops and then joining them together with single crochets. Solomon's knots are often used in crochet lace and shawls, but they can also be used to create bags and other accessories. Materials Needed To crochet a net bag with Solomon's knots, you'll need the following materials: Worsted weight cotton yarn in the color of your choice Crochet hook (size H or 5mm) Scissors Tapes